TeamViewer簡介
TeamViewer是一個能在任何防火牆和NAT代理的後台用於做遠程控制的應用程式,是桌面共享和文件傳輸簡單且快速的工具。
要連接到另一台計算機,只需在兩台計算機上同時運行TeamViewer 即可,不需要進行安裝(也可以選擇安裝,安裝後可以設置開機運行)。
該軟體第一次啟動時會在兩台計算機上自動生成夥伴ID。只需要在TeamViewer輸入你的伙伴的ID,即可立即建立連接。
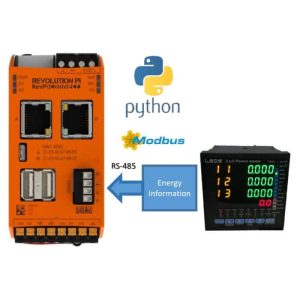
因此,工業樹莓派和TeamViewer的結合,可以實現公網訪問工業樹莓派,遠程調試設備,遠程監控可視化數據界面。
如此一來,工業現場僅需要有一個操作員正常啟動工業樹莓派,技術人員即可遠程進行調試,有效減少運行維修中的差旅和人力成本。
實驗環境說明
硬體:
工業樹莓派: RevPi Connect模塊
核心板處理器: 樹莓派3B
工業樹莓派中安裝TeamViewer的方法
1. 註冊TeamViewer帳號,並在PC端安裝TeamViewer客戶端;
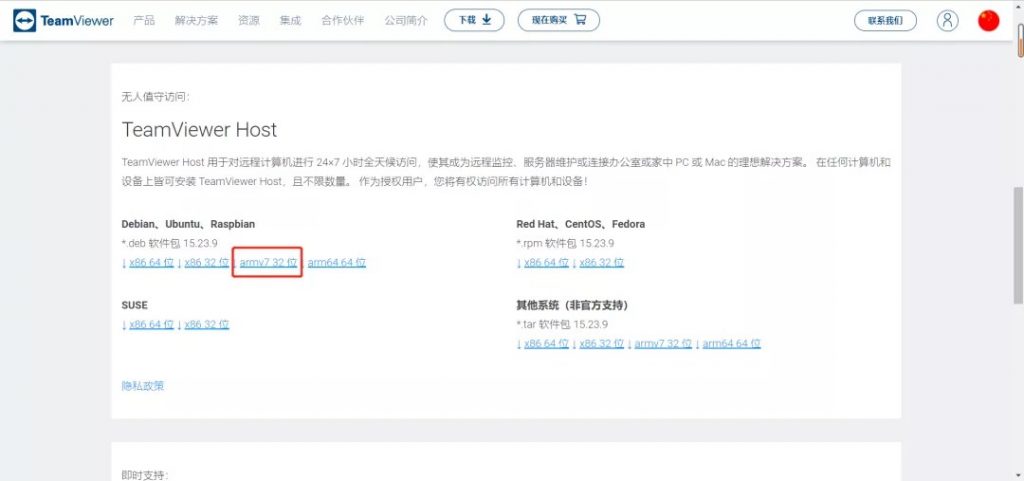
2. 用指令查看樹莓派系統版本和位數,本次測試使用的是RevPi connect模塊,arm71 32位。
uname -a
getconf LONG_BIT

3.前往TeamViewer官網Linux版本下載頁面,找到適用的版本,下載文件。下載連結:https://www.teamviewer.cn/cn/download/linux/
這裡下載方式也有兩種:
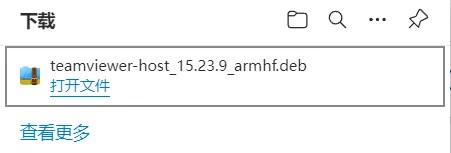
a.通過樹莓派圖形化界面訪問TeamViewer下載,通過這個方式下載的文件一般會保留在/home/pi/Downloads路徑下,開始安裝前,需要先進入這個路徑。
b.通過PC端下載需要的版本,然後通過USB、FTP服務器、Finalshell等方式上傳到樹莓派內。此次測試採用的是用Finalshell的方式上傳到樹莓派。
4.卸載舊版本軟體(如果之前有安裝過但不成功的,就需要卸載,若沒有則直接跳過,直接進入第5步)
sudo apt-get remove teamviewer-host
sudo apt autoremove
5.換源
a. 將/etc/apt/sources.list內容換成:
deb http://mirrors.tuna.tsinghua.edu.cn/raspbian/raspbian/ stretch main non-free contrib rpi
deb-src http://mirrors.tuna.tsinghua.edu.cn/raspbian/raspbian/ stretch main non-free contrib rpi
b. 將/etc/apt/sources.list.d/raspi.list內容換成:
deb http://mirrors.tuna.tsinghua.edu.cn/raspberrypi/ stretch main ui
c. apt update
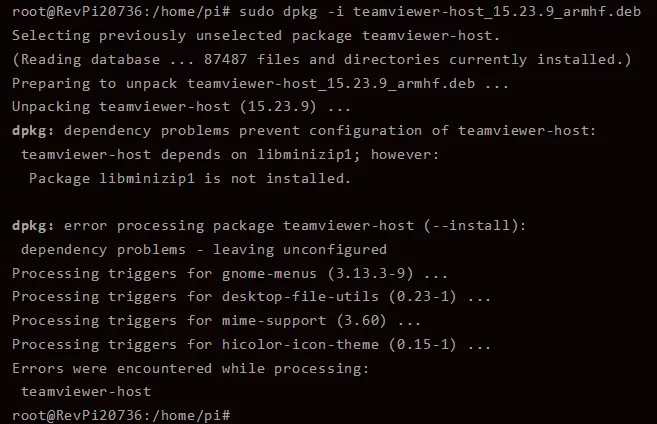
6.安裝新版本:
sudo dpkg -i
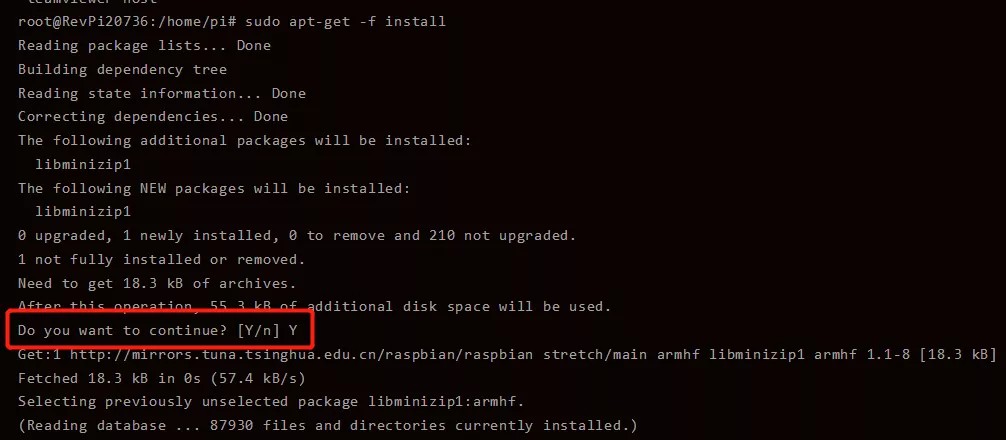
sudo apt-get -f install
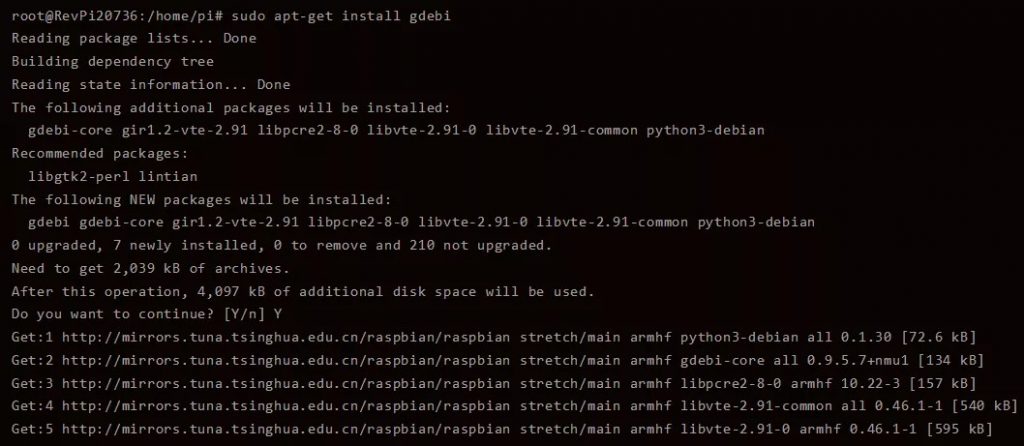
sudo apt-get install gdebi
7. 設置密碼(ID和密碼要記住!)
sudo teamviewer passwd <密碼>

8. 開啟TeamViewer服務
sudo teamviewer –daemon start

9.開啟TeamViewer開機自啟服務
sudo teamviewer –daemon enable
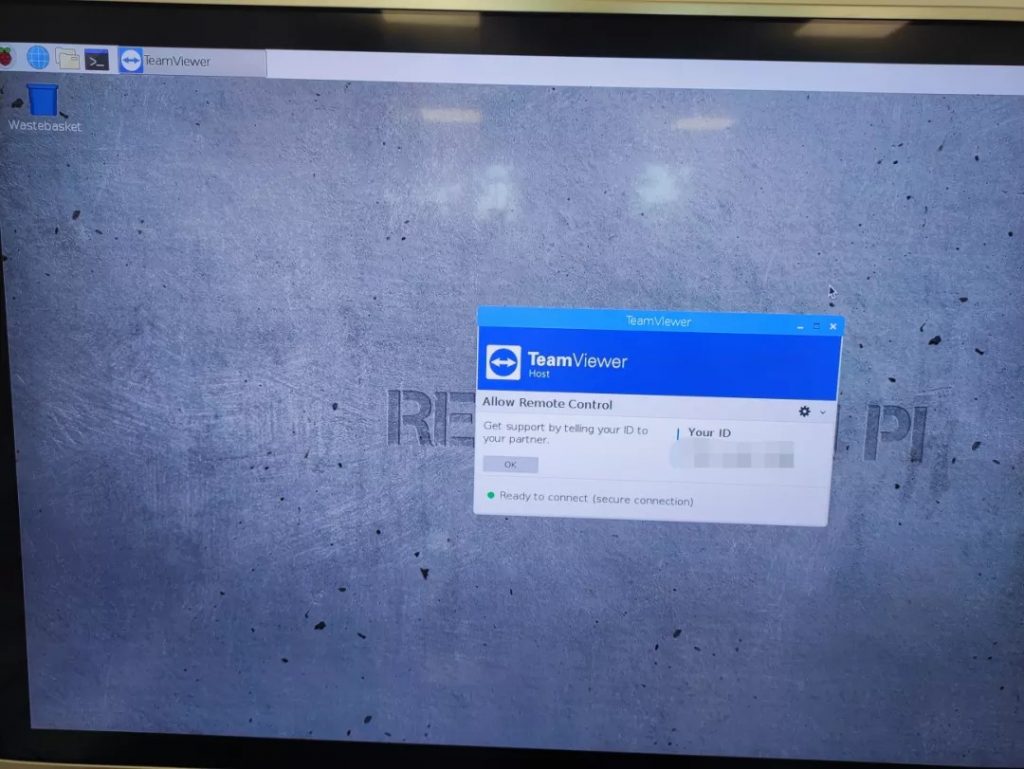
10.TeamViewer連接測試