
Article taken from Kvaser's website
In this article, we will show how to use Kvaser Memorator to record the traffic between two CAN devices.
The device used is the Kvaser Memorator Pro 2xHS v2, which can be used in combination with any Kvaser product:
- Kvaser Memorator Pro 2xHS v2
- Kvaser Memorator Pro 5xHS
- Kvaser Memorator R SemiPro
- Kvaser Storage 2xHS v2
I'll be recording two units and then starting the data in the sequence to analyze and check, this time the guide will not use advanced settings but just use the simple recorder function and hopefully start recording in 5 minutes!
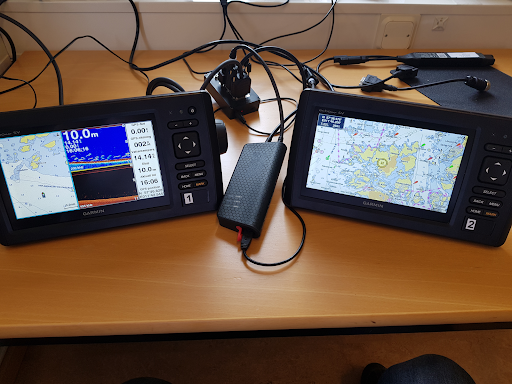
I am using two “GARMIN echoMAP™ CHIRP 72sv” and through “ Kvaser T-Cannector v2 ”Connected to NMEA2000 (CAN bus). I use a standard D-SUB 9 to NMEA2000 cable.
The T-Cannector adds 12 VDC to the CAN bus, powers the Memorator, and adds a 60Ω terminator.The Garmin device uses the standard NMEA2000 protocol and begins transmitting data when power is applied.
I. Pre-recording Preparation
Installation of drivers, SDKs and configuration tools
Before using Kvaser Memorator Pro 2xHS v2, please install Kvaser Drivers, Kvaser CANLib SDK and Kvaser Memorator Config Tools; it will be much easier to record after installation.
- Kvaser Driver for Windows
- Kvaser CANlib SDK
- Kvaser Memorator Configuration Tool
Battery charging
Please charge the battery in the device, if you are training to use the device it will charge while you are performing the setup, make sure you charge it correctly before testing again.The purpose of the battery is to allow the device to store data on the SD card when external power is removed, and to properly shut down the device without losing data.。
SD Card Management
Use the Kvaser Memorator Configuration Tool to complete the SD card formatting.
Note: SD cards that have been formatted by Windows or similar systems will not work.
Step 1: Setting up the memory
Install the SD card into Memorator (it will be formatted later).
Connect the Memorator to your computer using the USB data cable (the Memorator will now charge the battery).
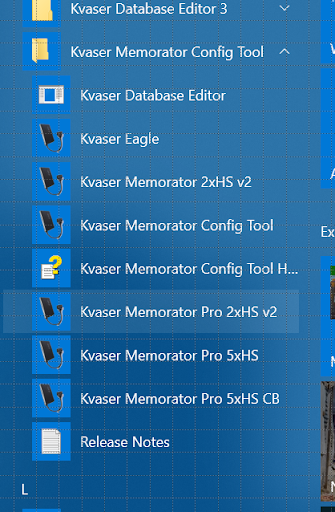
The “Kvaser Memorator Config Tool” can be found in the column; in my case it is called “Kvaser Memorator Pro 2xHS v2”.
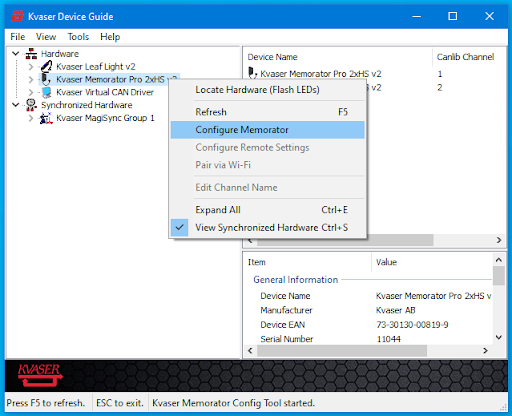
The tool can also be activated via the “Kvaser Device Guide”.

With this tool, we can set up Memorator to record the messages we want to record.
(It may ask you to initialize the card if it is the first time you use the unit or if the SD card is empty)
Step 2: Standard Function Setting
General Information
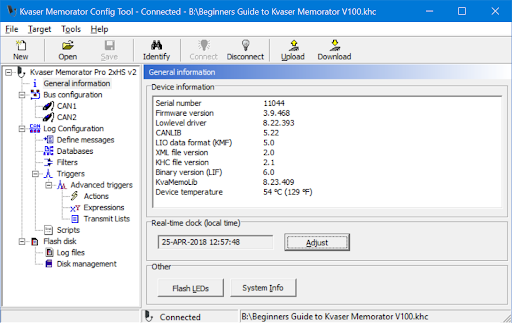
Ensure that the real-time clock is correct. Please make adjustments as soon as possible.
Bus Setting
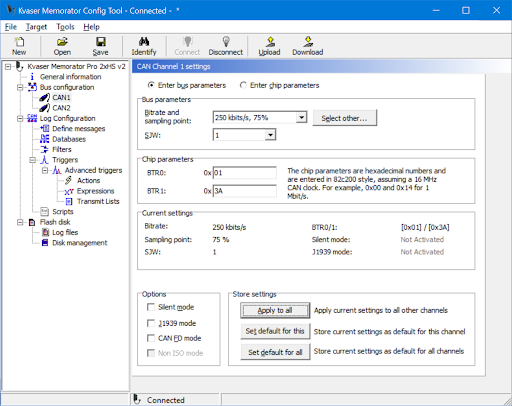
Starting to set the BUS parameters. 250 kBit/s is used by NMEA2000, I didn't edit any settings, the tools are using the default values.
(Now is a good time to save the setting to a named file so you can open it later. Use the menu File/Save As and save it somewhere.)
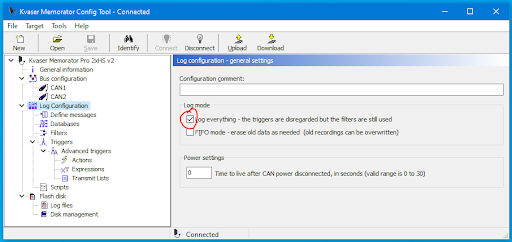
Step 3: Setup Advanced Functions
In the settings of the record, we can find:
- Defined Message
- Databases
- filters
- Trigger
- Script
There are a number of advanced features that can be set here, but we won't go into them this time, so we'll just set one of them.
Check the “Record all content” box to see if “Record all content” is checked.”
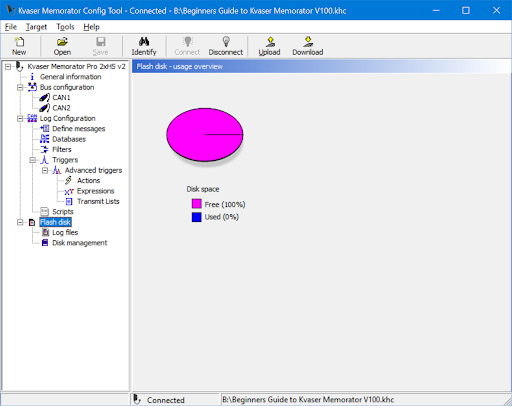
Step 4: Flash Memory
This is an important step!
- Record files (which will be used later, so we'll come back to that later)
- Disk Management (here we set up our SD card)
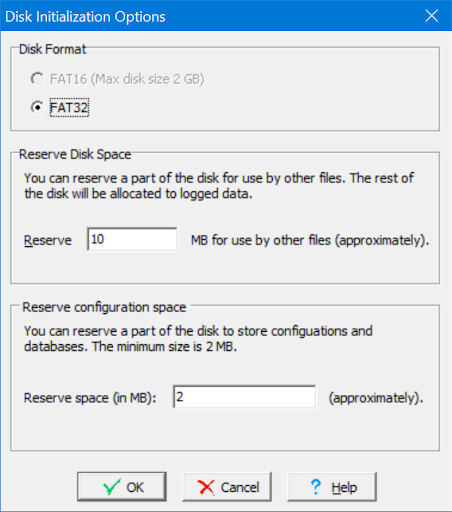
Step 5: Disk Management - Format Hard Disks
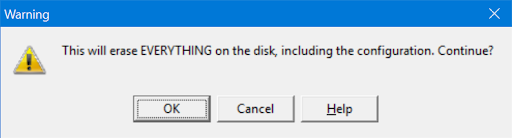
The SD card must be formatted before recording any data!
Select the default value because you don't understand the different numbers yet and press ”ok” → there are no more important messages on the card.
Final Step: Downloading the configuration to Memorator
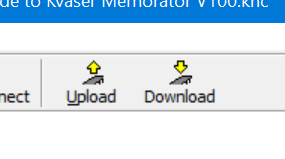
If we press the DOWNLOAD button, then the configuration will be downloaded from our tool to our Memorator.
Download -- From ConfigTool to Memorator
Uploading - from Memorator to ConfigTool
Functions available at the end of configuration
1. Data collection
I will proceed in the following order:
- Select the DISCONNECT button in the ConfigTool.
- Disconnect the USB communication between the Memorator and the computer. Removing the Memorator's Cable from the USB Remove the Memorator
- Turn off all test units (my Garmin unit)
- Connect Memorator DB9 channel 1 to the NMEA2000 bus.
- Waiting for the Memorator to boot up (12VDC is already running through the power supply (Kvaser T-Cannector v2 in my case))
- Open all test units
- Wait approximately 2 to 3 minutes to ensure that all normal startup traffic has occurred.
- Disconnect Storage DB9-1 (this will end the recording)
- Connect the Memorator to the USB cable connected to the PC.
2. Inspection results
I connected to Memorator again in ConfigTool, then selected the “Flash disk” section, then “Log files”.
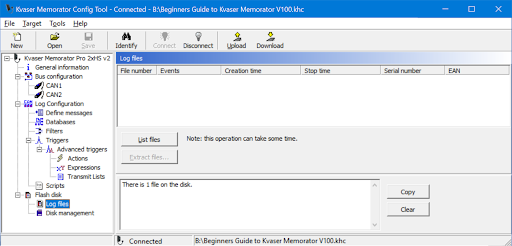
If I select “List Files”, then the device will list all available files for me:
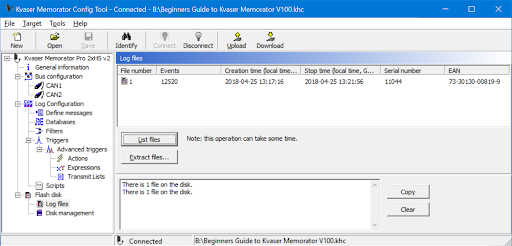
As expected, I've logged about four minutes of logging data, about 50 events/second, for a total of 12,520 events.
3. Extract files
I select file 1 and then select the “Extract file” option.
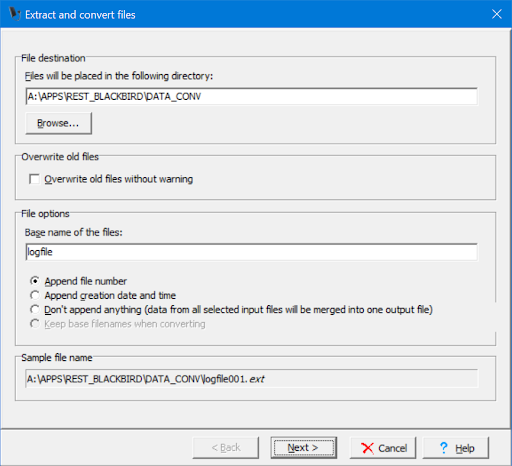
Next, select the file destination

Select the format in which you want the data to be displayed. I chose “CAN frames in plain text”.
If unsure, select KME50, which allows you to convert the data to another format later.
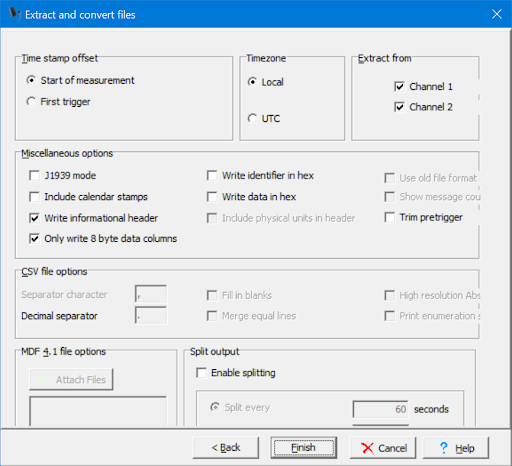
The general setup is complete, so let's see what happens next!
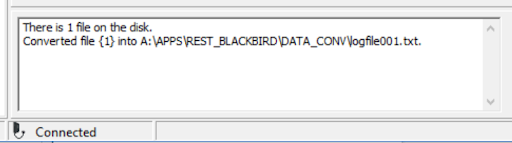
A few moments later, the application report export is completed.
Summary: What can I do with Kvaser Memorator?
- I can record data.
- I can download the data
- I can convert the data to the desired format.
- I can verify the data.
- I can analyze the data.